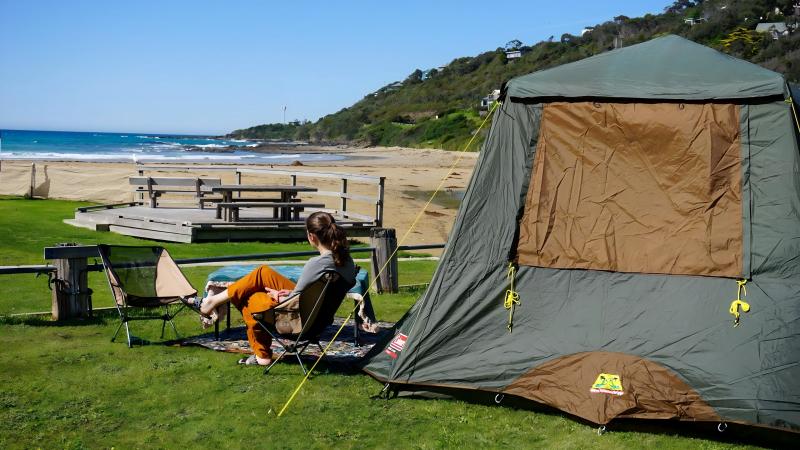
A well-pitched tent can turn the wilderness into a five-star in seconds!
Advertisement
So, you've decided to embark on a grand outdoor adventure, right? A night under the stars, the fresh scent of nature, and even a campfire to roast marshmallows. Sounds dreamy! But then you suddenly realize that there are no beds, no walls, and you have to sleep in a tent. Suddenly, you start to question your life choices. Relax. We've got your back. Let's turn this tenting fiasco into a confident “Wow, I totally did it!” moment. Whether you've never touched a tent in your life or just stared at the instructions until it miraculously set itself up, this guide will turn you into a tenting master. By the end, you'll not only know how to pitch a tent, but you'll look like you've been doing it since birth. Let's learn together!
Step 1: Choose your location
The first and foremost thing to do is to pick the perfect spot to pitch your tent. Not every patch of grass is right for you. You're looking for the VIP area of the campground - flat, dry, and safe. Flat: means not sliding down a hill at 2am, and dry ensures you won't wake up in a puddle. Avoid depressions in the ground, because trust me, water loves those places. Look above! Trees for shade, but too weak a branch above your tent? It's nature's version of Russian roulette. Stick to open areas or sturdy trees with no hanging surprises.
Step 2: Take it apart
Here's the thing: modern tents are like magic props in a bag. But first, you have to unleash the beast. Unzip the mystery tent bag. Inside you will find your soon-to-be home:
Tent Body- This is the most important part, the walls and floor of the tent.
Tent poles-Think of them as the skeleton of the tent.
Rain Covers- Protective covers for when the weather decides to show up for your parade.
Tent stakes-small metal pegs that hold the tent to the ground like a pro.
Cables-Tension cables used to keep the tent upright and stable.
Arrange all of these pieces neatly so you don't look like you're wrestling with a messy octopus. Before you touch the tent, tarp or stomp down the area where you're going to pitch it. Why? This tarp acts as a cell phone protector for your tent, keeping out water, dust, and sharp rocks. Without it, the floor of your tent may look like Swiss cheese. Suggestion: make sure the tarp is not exposed from under the tent. If it does, rain will sneak in and make your night wetter than a swimming pool.
Step 3: Assembly
Now comes the moment of truth, where you will be transformed from “confused camper” to “tent designer par excellence”. Lay the tent flat on the tarp. Check that the tent is positioned the way you want it - is the tent door facing the view or the campfire? Trust us, there's nothing worse than gawking at a boring rock face all night. Tent poles usually have shock cords, which means they snap together like magic. Simply attach the sections and voila, you have curved, sturdy tent poles. Follow the instructions for sliding or securing the tent poles to the body of the tent. It may feel like you're wrestling with a stubborn snake at first, but don't worry, that's the charm. Once the tent poles are in place, your tent will start to look like a tent! Attach the clips to the tent poles. You're almost there - don't give up! Take the tent stakes and hammer them into the ground at a 45-degree angle (pointing away from the tent). That way, they won't move around even if the wind decides to throw a party. Tighten everything down with a cable. Tighten and stake your tent so that it is “solid as a rock”. Our tents don't sag!
Step 4: Rain cover and interior
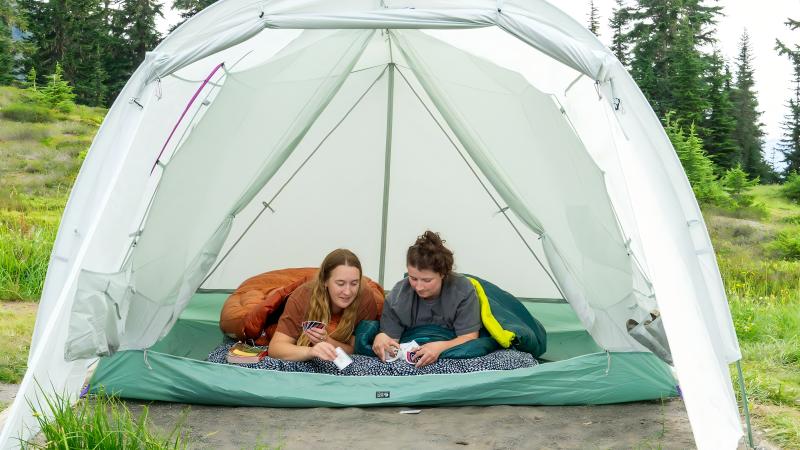
The weather can be unpredictable, so you'll need a rain cover. Drape it over your tent and secure it to the tent poles or stakes. It's like putting a jacket on your tent, which is both practical and stylish. Bonus: It also adds privacy for late-night pair dancing inside the tent. Now that your tent is standing proud, it's time to move in! Lay out a sleeping pad to act as a cushion and insulation (no one likes a cold, hard floor). Then, put in a sleeping bag, pillows, and even some fairy lights for an Instagrammable cozy vibe. If you're feeling particularly fancy, add a portable fan or heater depending on the weather. Oh, and don't forget the trash bags - a clean camper is a happy camper!

Why pitching a tent is totally worth it
Now that your tent is pitched and looking fabulous, it's ready to become your outdoor palace. You have completed the ultimate camping ritual! Sure, at first you might think it's a conundrum from outer space, but isn't that part of the adventure? After a long day of hiking, it's an amazing feeling to step into your own tent and know that you set it up. It's cozy, it's yours, and it's the gateway to the night under the stars.
Advertisement
Advertisement
Most Popular
-

- Exquisite life starts with a dryer: easily keep every piece of clothing warm and soft
- by Z
-
- Driving, biking or walking? Which of the different camping transportation options is best
-
- Create a refined life, start with a perfect dressing table
- by Z
-
- Camping in the rain and still having fun? These alternative plans are so good!
-
- Emma Roberts' Wilderness Survival Tips: How Celebrities Push the Limits of Nature
-
- The charm of the dining table: choose the right dining table to make every meal more ceremonial
- by Z


Advertisement